Tars Labs Experiment #2 : Sending Tars bot data to Google Sheets via Zapier
A few weeks back, we wrote a piece on how you could integrate TARS with a Telegram bot, so that you could get informed in real time as people filled out your bots. Of course, not all of you use Telegram or know what Telegram is, so since then we have experimented with new ways of data population that might actually be useful to you. So we experimented, and about 15 minutes later we figured out how to populate data in hundreds of more apps using the sorcery that is Zapier.
If you don’t know what Zapier is, think of it like a pipeline between the many apps and services you use to run your business. For example, below we will use zapier as a pipeline to automatically move data from a TARS lead gen bot into a Google Sheet.
The Example
Rather than delving into each and every integration within this article, we will focus on the google sheets zapier integration in the interest of time.
In this example, we populate a Google Sheet with data submissions in a TARS leadgen bot.
Instructions
- Login to your Zapier account (this goes without saying)
- Click on the orange make a zap button at the top of the page:

You should be greeted by a page that looks like this:
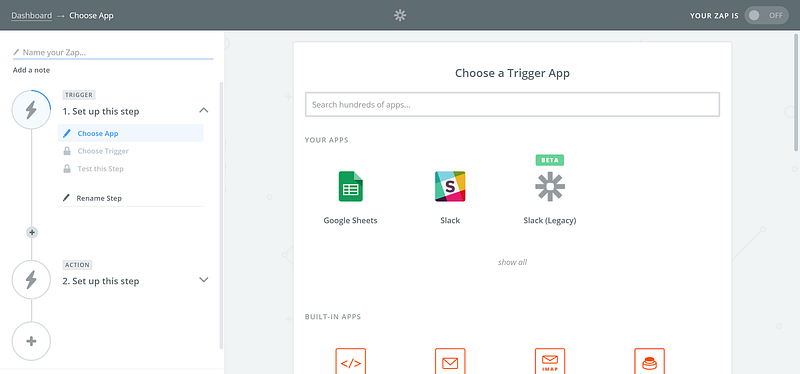
3. Setting up the trigger
Now we will need to set up the trigger for this zap. This means we will be defining what data will be allowed into the pipe. Since we do not have a zapier app built yet (there is one in the works) go ahead and select the webhooks option:

You will then be prompted to select the type of webhook that will trigger this zap. For TARS bots, choose Catch Hook and press save and continue:

The next step looks something like this and is optional, so we are going to go ahead and skip it by clicking continue:

Zapier has generated a url where you can send data from your TARS bot:
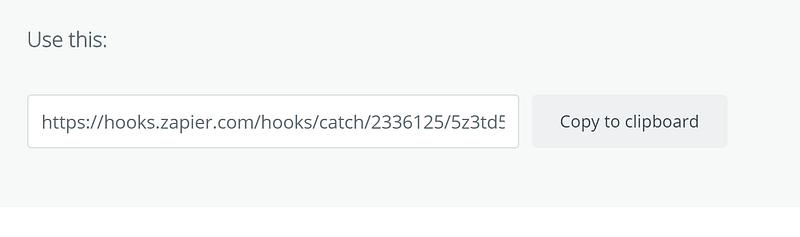
Now we need to test the trigger to see if it working
4. Testing the trigger
Open up the bot whose data you want to send to Google Sheets. In this example, I am using a simple contact form bot that takes a user’s name, email and query and offers them a small diversion where they can see a gif:

Navigate to the last gambit and click the API-config checkbox:

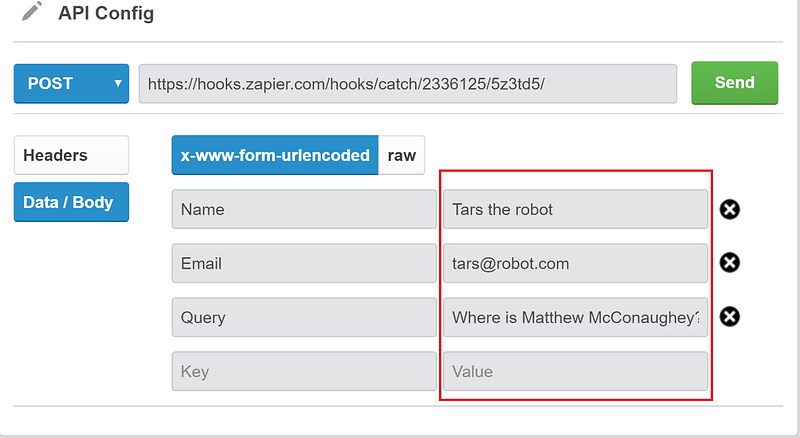
Select post from the drop down menu:

Copy and paste the zapier link that they provided in the last step into the endpoint url:

Below the url, make sure that you have Data/body and x-www-form-urlencoded selected as options:

The key and value fields are where we are going to put the data we want to send:

Think of the key as the label for the data and the value as, well, the actual value of the data we are going to send.
In this case I want to send the name, email and query:

So fill out the keys with the appropriate headers and the values fields with some test values (I’ll show you how to get the user submitted values later on this piece):

Hit the send button next to the url endpoint:

And you should get a success message below:

Go back to the zapier page and click the “Ok, I did this button” in the bottom right:

It will take a few seconds to load but eventually you should see a screen that looks like this:

Hit continue and you are ready to send the data received through this hook to your google sheet.
5. Set up the action
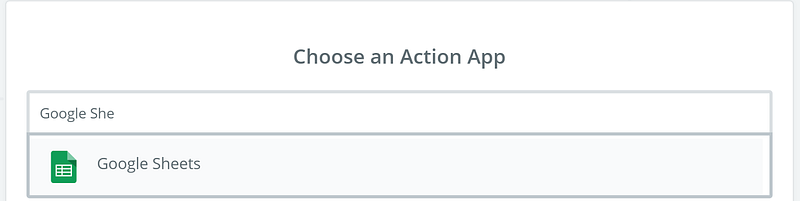
Now that we can send data easily to Zapier, we want Zapier to put it into a Google Sheet.
To do this we follow very similar steps to the ones above. First, choose the Action app (in this case Google Sheets):
Then choose what you want zapier to do within google sheets. In this example, we want to create a new row for every submission to the contact form bot:

Hit Save+Continue.
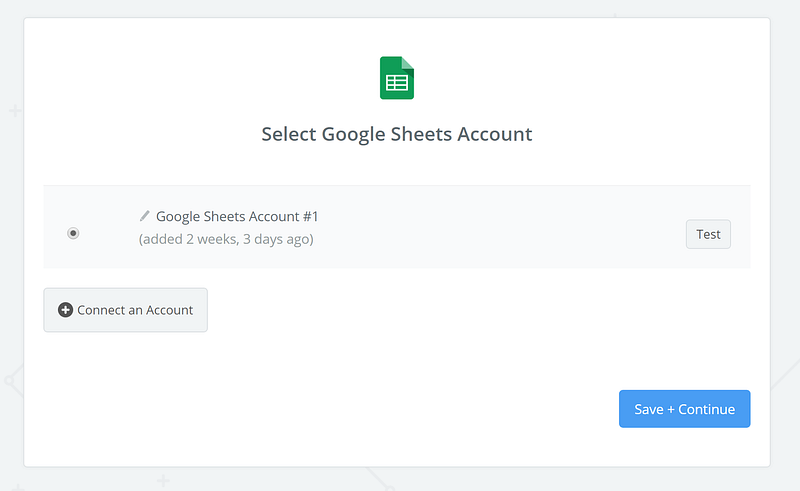
Connect your Google account so that you can direct Zapier to the right sheet. Over here I have already set up my account and selected it:
Next, you will have to choose which sheet will receive the data. In this case I have created an empty sheet with three headings (one for each piece of data being sent) and two worksheets (Inbound and Followup):

In Zapier select the sheet and worksheet accordingly:

You should see the three headings from the sheet appear as fields below:

Over here is where we tell zapier what to put under each heading in each new row.
For each heading click the icon at the right of the field to reveal the test data that we sent in the previous step (to test the webhook) and select the appropriate data for each field:

On the next screen hit create and continue and wait a few seconds.

If the test is successful, then your sheet should have the test data added in as a row:

Hit finish in Zapier:

Rename and activate your zap:
…and you are all set!
6. NOT SO FAST!!
The way we have set up webhook in tars, every time a user completes the form, the test data will be sent to the sheet regardless of what they input in bot.
As such, we have to change the data sent in the last gambit such that the bot sends, the data the user filled out to zapier instead of the test fields:
To do this we need to use tars data referencing feature. In case you did not know it yet, you can refer to user responses from previous gambits later gambits. For example, we can reference data the user send in the name gambit:

To the name field in the api call:

To use data referencing you use the following format:
{{ursp.name}}
ursp refers to user response and name refers to the gambit’s name:
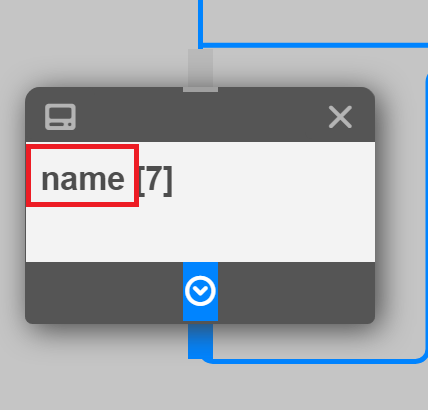
The double curly braces, tell the bot that you are referring to data from somewhere.
Go ahead and replace the test values with the necessary data references (in this case {{ursp.name}}, {{ursp.email}} and {{ursp.query}}):
Hit save of course:

And now, you are all set. Your bot will now automatically send leads to your Google Sheet.

Ish is the co-founder at Tars. His day-to-day activities primarily involve making sure that the Tars tech team doesn’t burn the office to the ground. In the process, Ish has become the world champion at using a fire extinguisher and intends to participate in the World Fire Extinguisher championship next year.

Recommended Reading: Check Out Our Favorite Blog Posts!
Resolve Complex Customer Queries With Tars Live Chat

Improve Your KPIs Using Tars WhatsApp Campaign Scheduling Feature

Hyper-Optimize Your Chatbots With User Flow Analytics

Our journey in a few numbers
With Tars you can build Conversational AI Agents that truly understand your needs and create intelligent conversations.


years in the conversational AI space

global brands have worked with us

customer conversations automated

countries with deployed AI Agents